Update to the 5 gallon dust separator
I made a screen for the bucket separator, which in theory should force the dust to go down into the bucket better and keep the turbulent flow up above. Using the CNC machine I cut a piece of scrap wood to fit into the bucket with a gap around most of it to allow the material to fall into the bucket. I think the support posts create too much turbulence within the bucket itself and this causes more of the fine dust to get into the vacuum. Perhaps I need to just have a small screen not much larger than the central portion of the bucket to allow for less turbulence and faster fallout of the larger particles.
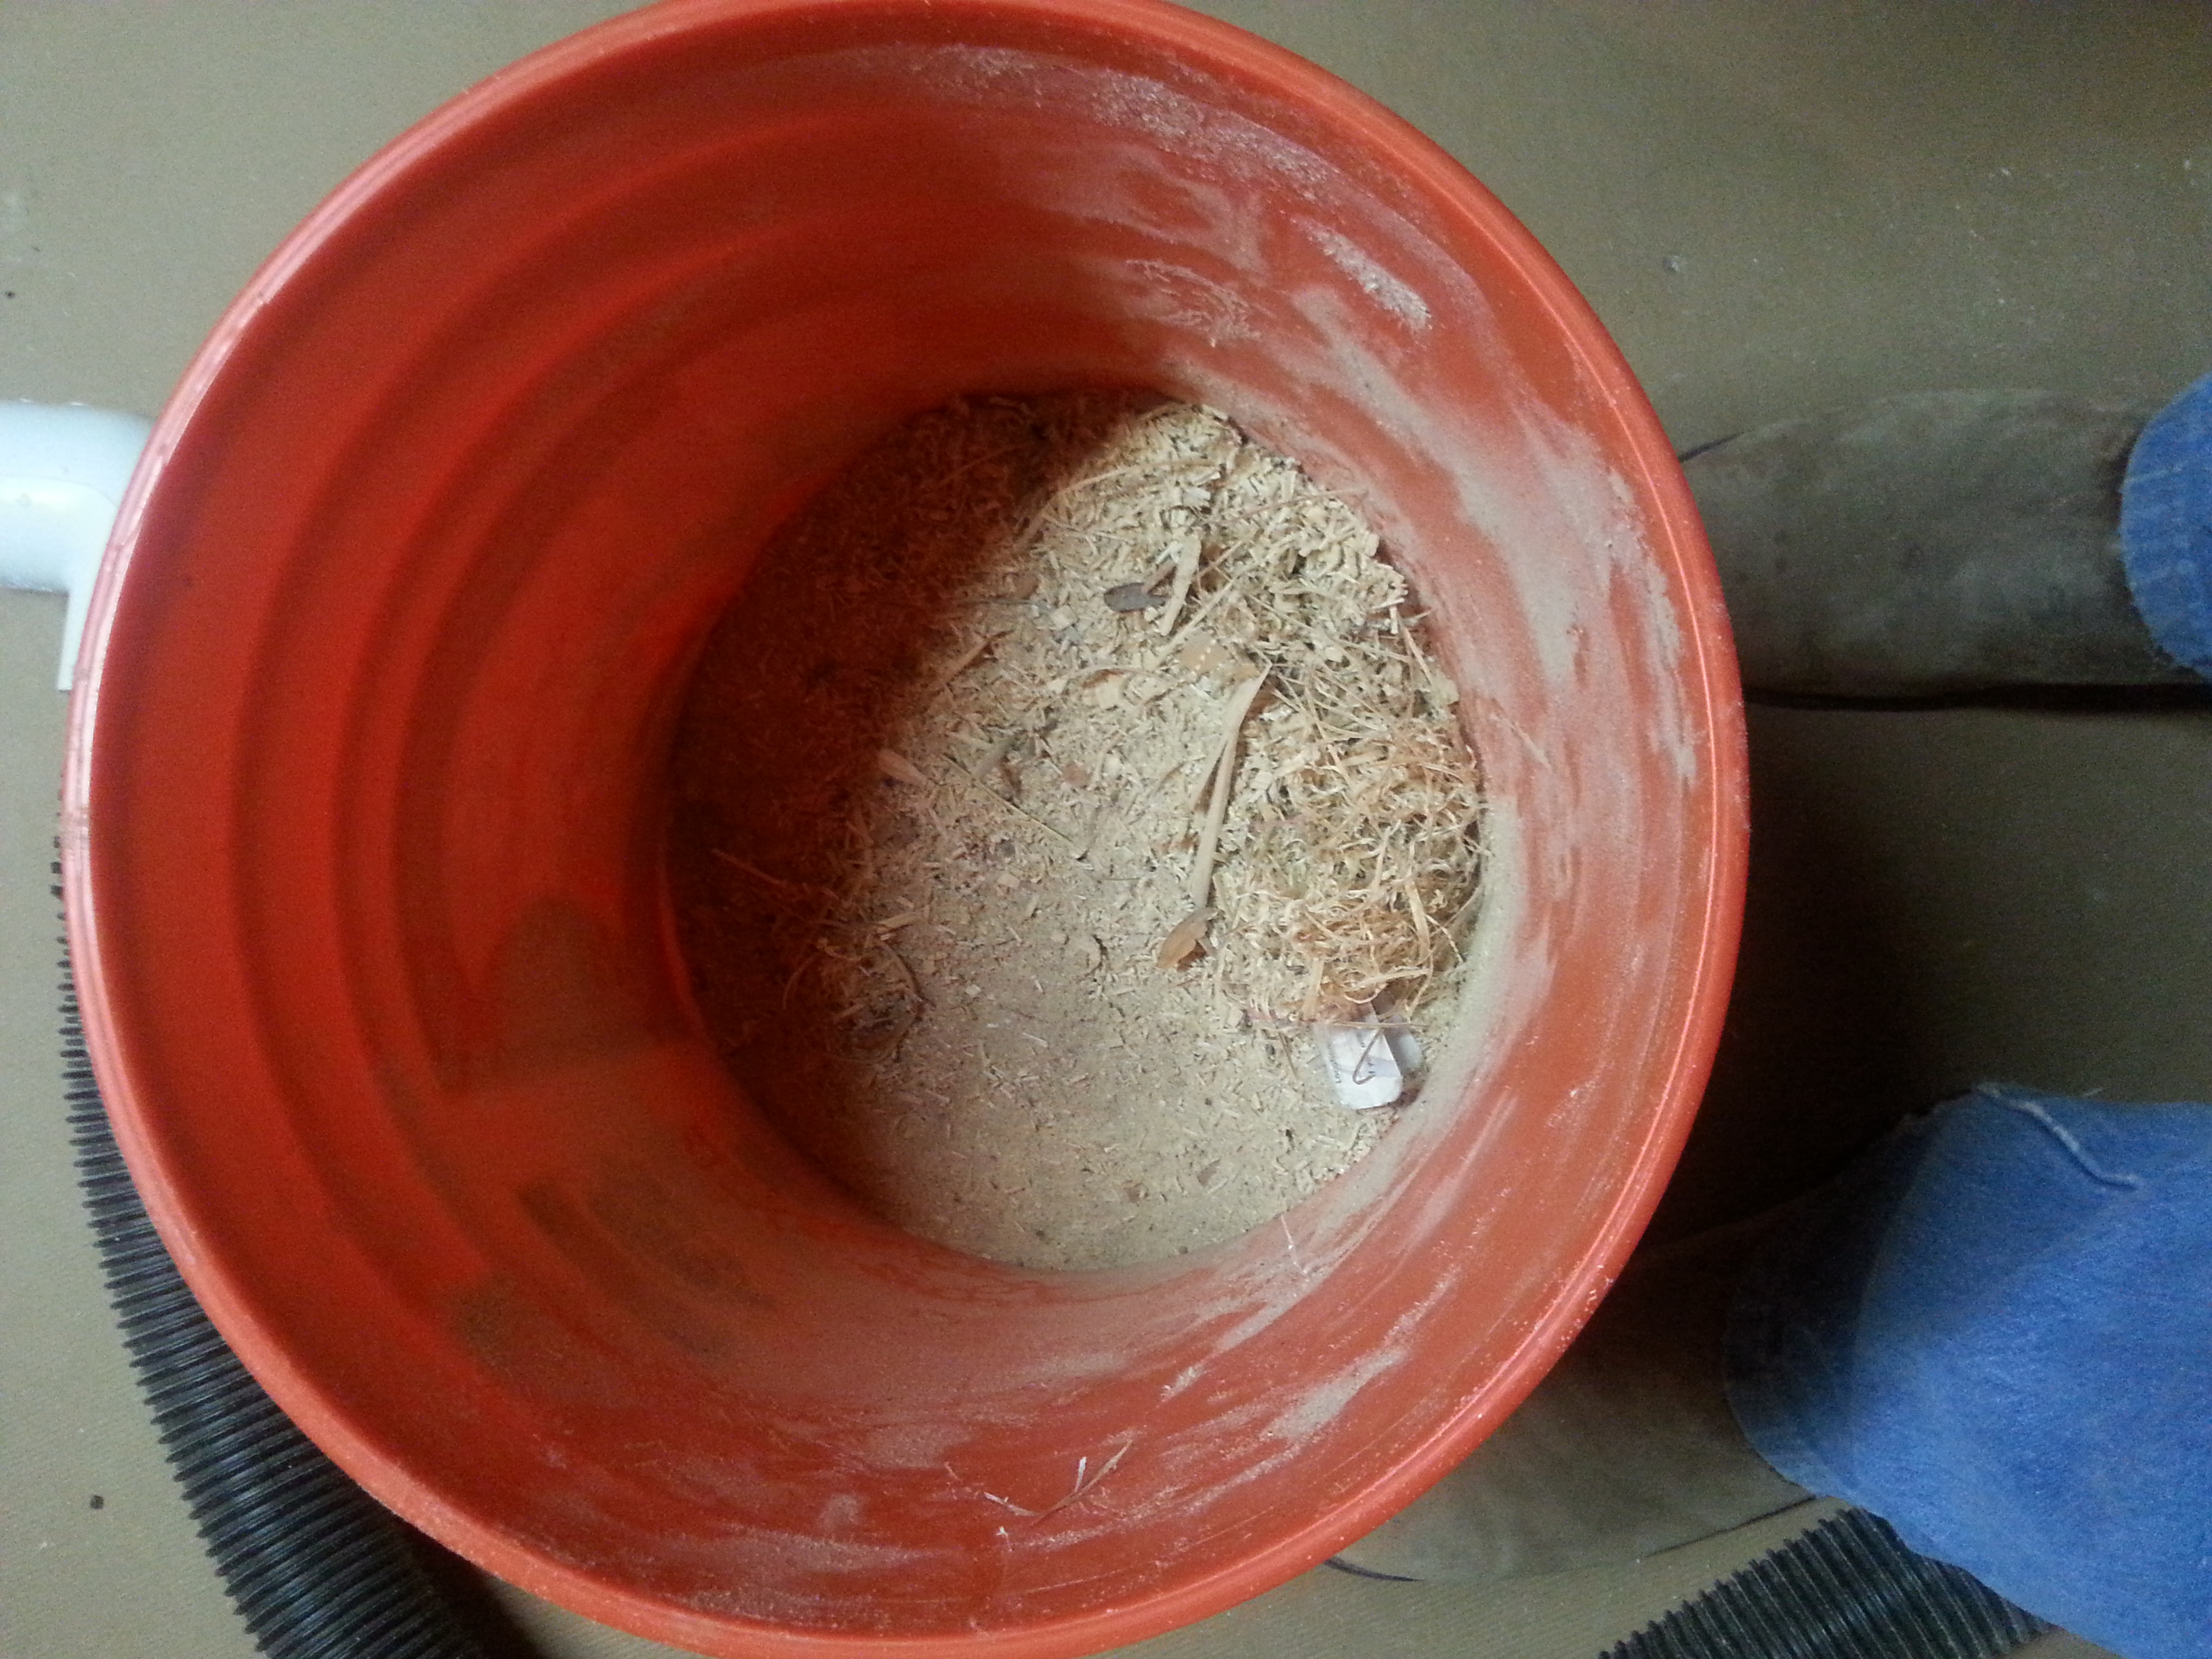
This system relies on centripetal acceleration to push the particles to the outside wall of the bucket, as gravity causes them to settle out of the airflow they fall below the screen where the air is much more calm and there they fall out completely. What I found is that the bottom of the screen was coated with the smaller particles, while the smallest particles made it back into the vacuum, clogging up the filter. The large particles were intercepted into the bucket. The whole point of this is to reduce the amount of buildup on the filter. I will try with a smaller screen. At this point I think it worked better with no screen at all, however the true test will be this weekend when I put it into actual service, instead of merely testing with a pile of sawdust dumped onto the floor.
Some images of the bucket lid and screen. I must say I am very pleased with the CNC machine, and would not be able to manufacture my own tools to the tolerances I expect without it. Perhaps I will have to use it to manufacture a larger CNC machine, something with a bed size of 36″ square or 36×48. That will be a major project. Until then I’ll just use it to make other tools and jigs.


5 Gallon Bucket Dust Separator
I have a Rigid 12 gallon shop vac. The one with the pleated filter. Typically I plug the vacuum directly into whatever tool I am using. The pleated filters get clogged up with the wood dust, and constantly require cleaning; which takes time away from what I really enjoy doing. Not to mention the mess. Saw dust everywhere. I have spent some time perusing the woodworking online shops for cyclone dust separators, but after seeing the decent ones priced at $100 bucks I decided it was worth a try to make my own. I have seen quite a few different versions of home made cyclone dust separators online, from the trash can top hat, to the 5 gallon bucket. I decided that as long as the shopvac is my only vacuum I would only need a 5 gallon bucket. That can be emptied easy enough as needed. I will make a trashcan top hat when I have the need of one for a larger dust collection system.
After a trip to Home Depot for some 2 inch pipe and elbows, I decided to set out to make my own bucket separator. Using the CNC machine I cut out the exact size hole for the pipe to fit through. That took about 10 minutes to program the machine, and do the two cuts. I then put the pipe through and connected the fittings. It’s not a perfect solution, some dust still gets into the vacuum, but it is much less than used to, and with a simple shield I should be able to get it down even further. Here are some photos of the product, and a video from inside the bucket. I emptied the shopvac onto the shop floor, and used that as a test of the system. Some of the material did get into the shopvac, however I think it was too much for the bucket to handle without a shield, as the majority of the contents of the shopvac was the type of material which I sucked up after the bucket was about 1/3 full. It’s hard to tell in the photo, but the 5 gallon bucket has about 6 inches of material in the bottom. I will cut out a shield the next time I have the chance and try it again.
With the prospect of doing quite a bit more woodworking, now that I have a permanent location for my tools, the need for a proper dust separator, as well as a good vacuum, is that much more important.
I purchased the bucket, lid, pipe, jointsand the hose, about $35 total. The new vacuum hose was $20 by itself.


CNC Coupling Nut
During cutting of the handles for the bee boxes I had the issue of the z-axis coupling nut slipping. This destroyed one of the sides, as the CNC stopped raising the tool, it ended up cutting all the way through the box. In order to fix this I made my own coupling nut by tapping a 1″ nylon bushing for the threaded rod, and pushing it onto the stepper motor. I have had no issues since I did this. I will try replacing the other two as well. Perhaps I can increase the speed of the movements. This would greatly reduce the necessary cutting time.


